Lower Royd radical retrofit: Ground floor and walls

Ground floor
We are employing a similar strategy for the ground floor as we used at our Cumberworth retrofit.
The floors for farmhouse & barn will have a U value of 0.1 W/m2K and use 200mm PU insulation in solid floors. The floor is made up as follows:
- Slab
- 200mm polyurethane PU insulation
- 75mm screed with underfloor heating
We will discuss heating strategies in a later blog, so we won’t go into the reasons we’ve gone for underfloor heating here.
The walls
For the farmhouse and the barn conversion walls we have developed an insulation strategy which results in a U value of 0.3 – 0.35 W/m2K which is similar to what we achieved at Cumberworth and would meet EnerPHit ‘elemental’ requirements. EnerPHit recognises the difficulties and dangers of moisture risk using internal wall insulation (IWI) and so does not require impossibly low wall U values.
For this project we are following on from the success of the performance of the breathable capillary open Tectem IWI at Cumberworth, but we are trying out something slightly different.
The downside of the Tectem boards is the preparation of the walls required to flatten them sufficiently to be able to take the boards. We felt that this was arduous and expensive for this project with its bumpy and uneven walls. Tectem is a great IWI solution when working with a flat brick surface.
Diathonite Evolution Internal Wall Insulation (IWI)
So on this project, we are using Diathonite Evolution plaster from Ecological Building Systems which is vapour open, capillary open and has a lambda value of 0.045 W/mK, which is extremely good.
Diathonite is composed of cork, clay, lime and ‘diatomaceous earth’. It seems to offer a great leap in getting to a really good lambda value, which other cork and lime IWI products on the market don’t seem to be able to achieve, usually offering lambda values of around 0.1 W/mK.
It has been spray-applied by the contractor in 25mm layers to build up, a day at a time, to a minimum of 100 mm, then has been finished with a final lime plaster coat afterwards. We have also sprayed 50 mm on the 3 existing partition walls to get good airtightness and alleviate the airtightness issue that we discovered late on at the Cumberworth project. Another bonus is that the Diathonite system is also airtight so removes the need for parging of the walls before application.
It can be hand-applied but spraying makes more sense in larger projects. In this project we are dealing with a considerable square metreage of wall.
Cost-wise the Diathonite is working out to be similar to, if not cheaper than, the Tectem system, especially as you save money by not spending time preparing the walls beforehand.
Some points about pointing
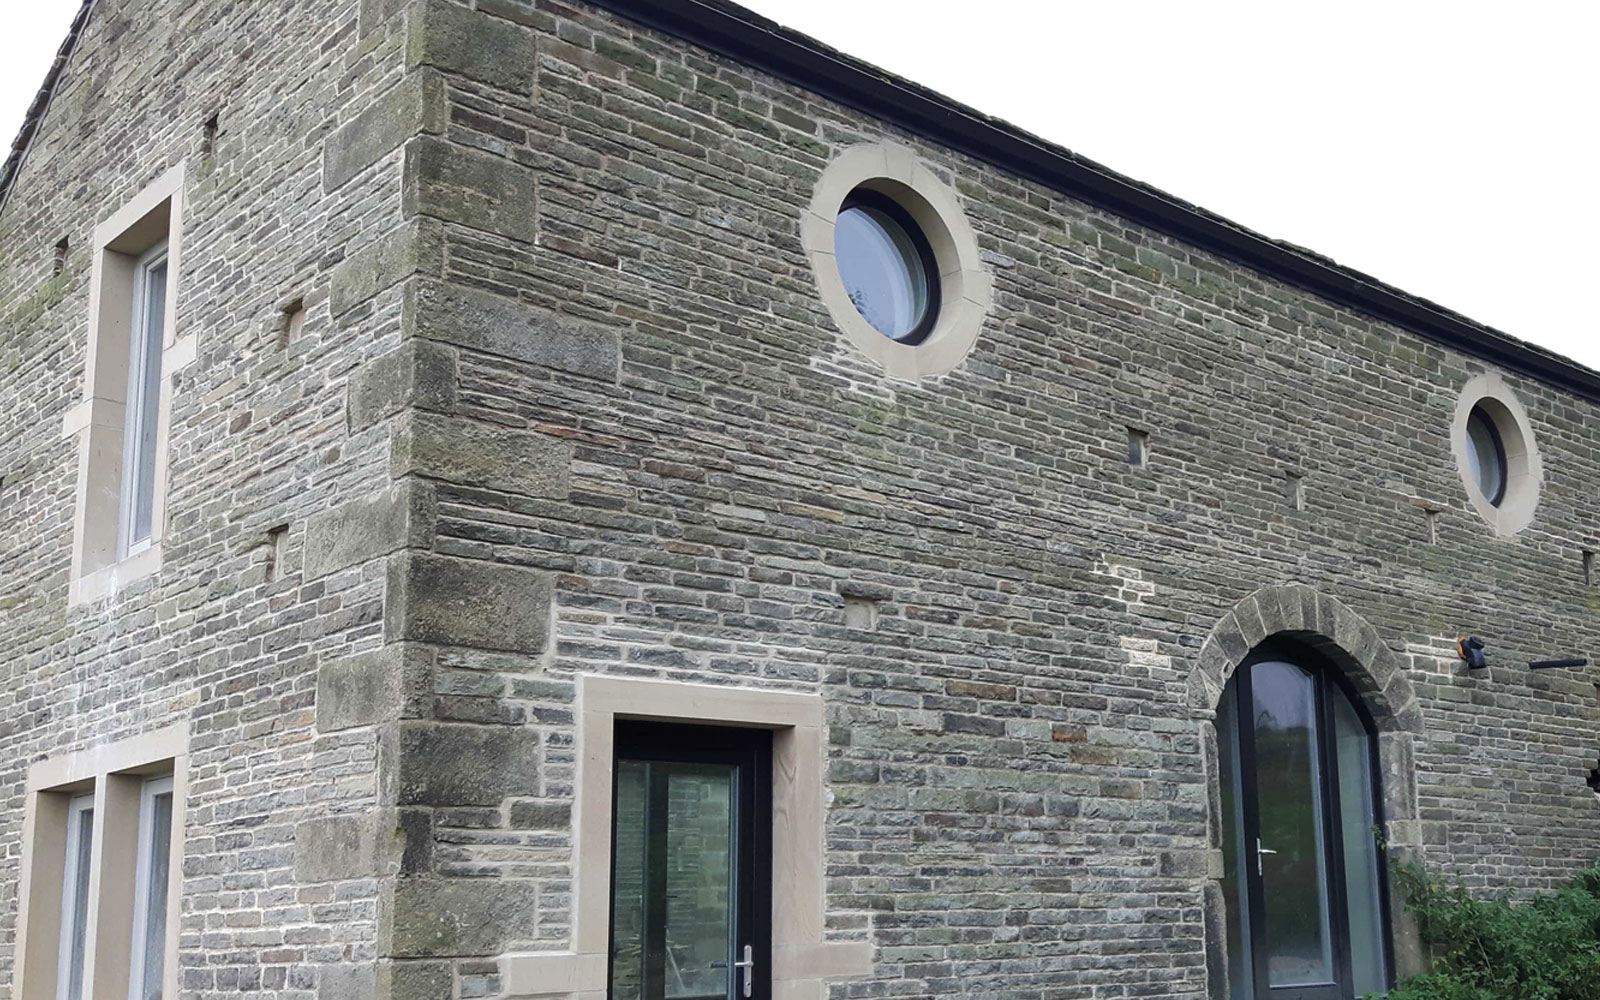
The barn re-build (on the left of the photo above) has ‘flush’ pointing with a lime mortar. However the farmhouse (on the right of the photo) has been pointed in the 20th century tradition (proud, ‘weatherstruck’) using a strong sand/cement mix. This isn’t ideal as it doesn’t allow the stone to expand and contract easily. It can trap water behind it once it starts cracking. It’s not as vapour open as lime mortar pointing, not allowing the water to escape as easily. Strong cement mortars binds the stone tightly, potentially causing spalding of the surface of the stone. Spalding is where moisture gets trapped in the stone and where sudden changes of temperature, particularly on frosty mornings (eg with the sun coming onto the cold stone face) start breaking the stone face. But it’s currently in good condition, so we propose to leave it as it is for now. In future it could be taken off and flush pointed with a lime mortar but for now it doesn’t warrant changing.
In the next blog we’ll be looking at our strategies for the intermediate floors and windows.
Bill Butcher, Director, Green Building Store


